
What’s The Best Way To Photograph Quilts

by Craft Alive | 4 minutes, 24 seconds read
Quilting is an art form that combines creativity, precision, and a keen eye for detail. But what happens when you want to share your masterpiece with the world? How do you capture the intricate patterns, vibrant colours, and unique textures that make your quilt special?
This becomes particularly relevant when preparing to showcase your work at a major event, such as the Hobart edition of the CraftAlive event series.
CraftAlive is a premier event that brings together craft enthusiasts from all over Australia. The Hobart quilt show, part of the CraftAlive events series, is a three-day extravaganza where you can shop for craft supplies, kits, and equipment and learn from some of Australia’s best teachers. It’s an event that’s all about the craft, not just the finished product. As such, it’s the perfect place to share your passion for quilting with others.
In this blog post, we’ll explore the best ways to photograph quilts, providing tips and tricks to help you showcase your creations in the best possible light.
The importance of good quilt photography
Photographing your quilts effectively is crucial, whether you’re looking to sell your creations, showcase them on social media, or enter them into exhibitions. A well-photographed quilt can capture the attention of viewers, highlight the intricacies of your work, and convey the time, effort, and skill that went into creating it. But how do you photograph a finished quilt in a way that does it justice?
Equipment needed for quilt photography
Contrary to what you might think, you don’t need a high-end camera to take great photos of your quilts. In fact, many smartphones today are equipped with cameras that can capture high-quality images. What’s more important is understanding how to use your camera effectively, regardless of whether it’s a DSLR or a smartphone. A tripod can also be a useful tool, helping you to keep the camera steady and position it at the right height.
Also, consider investing in a backdrop. This could be as simple as a plain white sheet or a piece of poster board. A backdrop provides a clean, uncluttered background that allows your quilt to be the star of the photo. It can also help control the colour and light reflections in your photographs.
The role of natural light in quilt photography
One of the most crucial elements in any form of photography is light. When photographing quilts, natural light is often your best friend. It can highlight the colours and textures of your quilt without creating harsh shadows or distorting the colours. Pay attention to how natural light changes in your home throughout the day, and try to photograph your quilt when the light is most favourable. If you’re shooting outdoors, overcast days can provide beautifully diffused light.
The importance of the background and composition
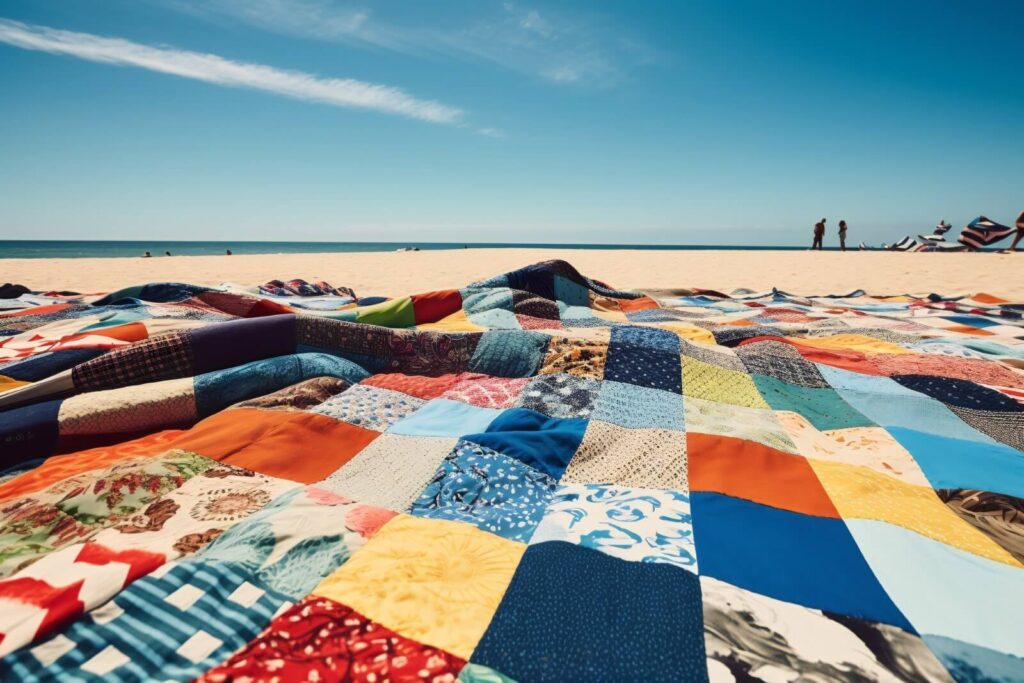
The background of your photo can either enhance your quilt or distract from it. Choose a background that complements your quilt without overpowering it. This could be a plain wall, a wooden floor, or even a beautiful outdoor setting. When composing your photo, consider what you want to emphasise. Do you want to capture the entire quilt, or focus on a particular detail? Position your quilt and your camera accordingly.
Using props and setting the mood
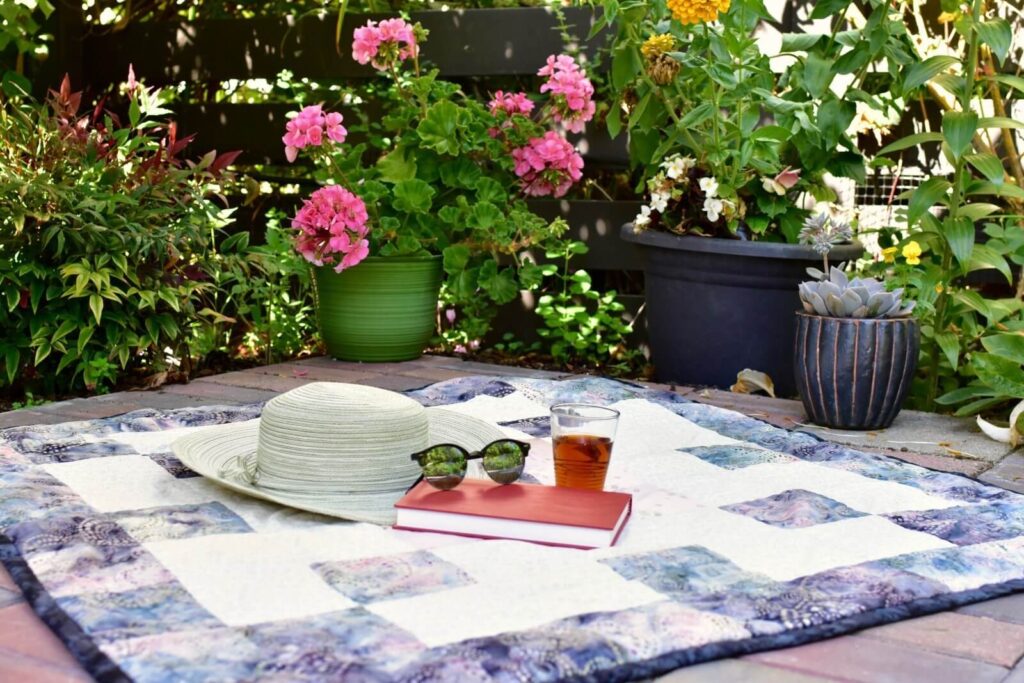
Props can add interest to your quilt photos and help to convey a certain mood or theme. For instance, a vintage quilt might be photographed on an antique bed, while a modern quilt might be draped over a sleek sofa. Props can also provide a sense of scale, helping viewers get a good idea of the size of the quilt.
Getting the best angle and framing the photo
The angle from which you photograph your quilt can greatly affect how it is perceived. For a full view of the quilt, aim your camera straight towards its centre. This might involve hanging the quilt on a wall or even climbing a ladder to photograph it from above. Don’t be afraid to experiment with different angles to find the one that best showcases your quilt.
Editing your quilt photos
Even the best photos can usually benefit from a bit of editing. This could involve cropping the photo to remove unnecessary elements, adjusting the exposure to brighten the image, or tweaking the colours to make them more vibrant. There are many photo editing apps available that can help you with this, even if you’re a complete beginner.
Conclusion
Remember that becoming good at quilt photography, like any skill, takes practice. Don’t let initial setbacks dampen your spirits. Continue to explore various methods and absorb lessons from your missteps, and over time, you’ll notice a steady enhancement in your skills. And most importantly, have fun with it! After all, the goal is to share your passion for quilting with others.
Photographing quilts may seem challenging at first, but with the proper techniques and a bit of practice, you can take stunning photos that truly showcase your creations. So why not grab your camera (or smartphone), your quilt, and start experimenting with these tips today?
And remember, if you’re planning to attend the CraftAlive Toowoomba quilt show, these tips will help you present your quilts in the best possible way. Happy photographing!
Recent Stories
Best Craft Fairs in Australia 2025: Top Picks and Highlights
by Craft Alive | 4 minutes, 31 seconds read
Craft Industry Trends for the Start of 2025
by Craft Alive | 5 minutes, 14 seconds read
Understanding Local Craft Fairs: A Guide
by Craft Alive | 5 minutes, 9 seconds read
Send Us a Message
"*" indicates required fields


